
How to apply blush for round face comes down to one goal, create lift without adding extra width, so your cheeks look softly sculpted instead of extra full.
If you have a round face, it’s easy for blush to “take over” your look, especially when it sits too close to the center of your cheeks. The result is cute, but not always what you want, sometimes it reads as puffy or flat on camera.
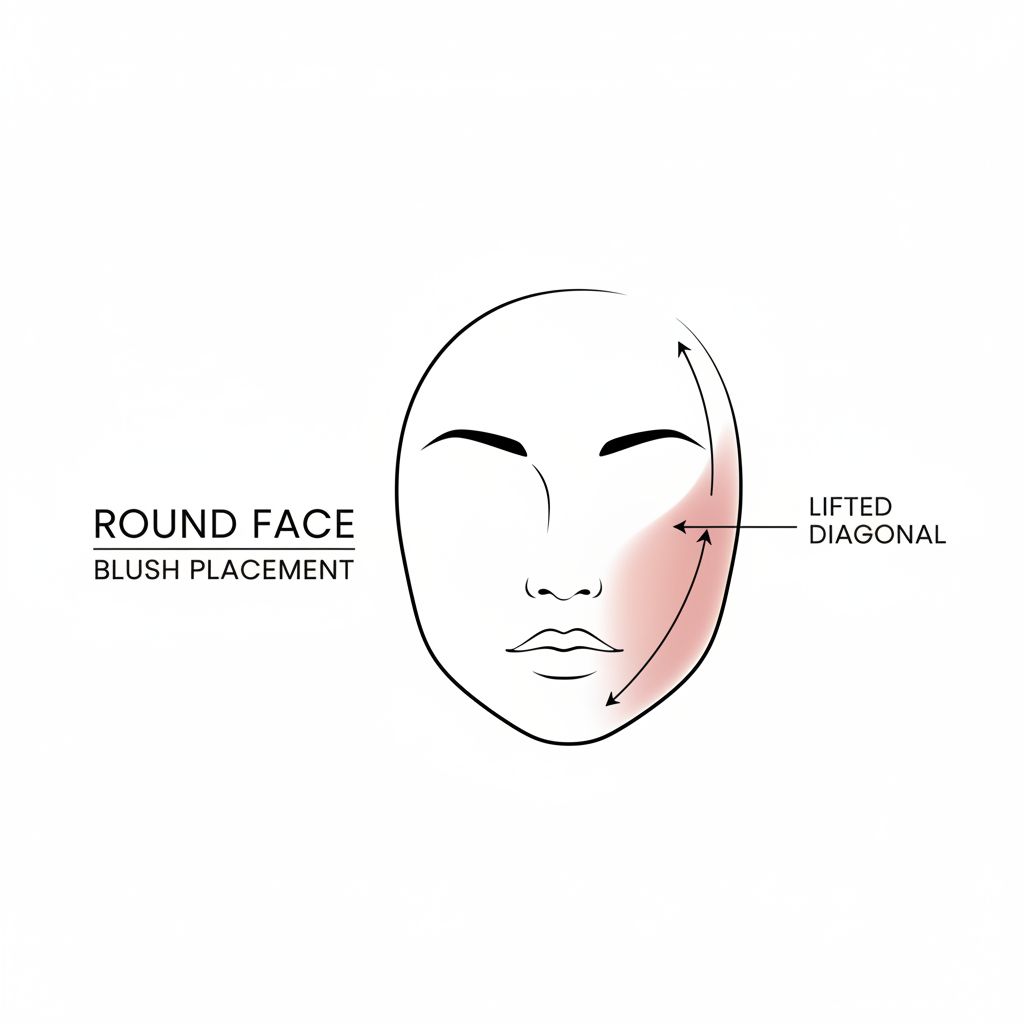
This guide keeps it practical, you’ll get a quick face-shape check, the placements that usually work, what tools and formulas change the result, and a few “don’t do this” notes that save time and product.
Why round faces need different blush placement
Blush is basically color plus optical illusion. On a round face, color placed in the wrong zone can emphasize the widest part of the face, because the eye reads that area as forward and prominent.
- Center-heavy blush can make cheeks look rounder and closer together.
- Low placement can pull the face downward, especially in photos.
- Wide horizontal blending can visually widen the mid-face.
According to the American Academy of Dermatology (AAD), daily sunscreen helps protect skin from UV damage, and from a makeup standpoint that matters because texture and uneven tone often affect how blush blends and wears on the cheeks.
Quick self-check: are you actually working with a round face?
You don’t need a measuring tape, just a mirror and honest lighting. Many people are “round-leaning” but not fully round, and that changes how you should place color.
- Cheek area is the widest point, more than forehead or jaw.
- Jawline looks soft with fewer sharp angles.
- Face length and width feel similar at a glance.
- Fuller cheeks even when you’re not smiling.
If you’re between shapes (round-oval is common), use the same technique but blend a little less aggressively toward the temple.
The most flattering blush placements for a round face
When people search how to apply blush for round face, they usually want a placement that looks lifted and a bit more defined, without turning into contour. These are the placements that tend to deliver that.
1) The lifted diagonal (your everyday default)
Place blush slightly above the apple of the cheek, then blend up and out toward the top of the ear, not straight back.
- Start at the outer cheek, about two fingers away from the nose.
- Keep the highest color point roughly in line with the outer corner of your eye.
- Blend toward the temple, but stop before you hit the hairline heavily.
2) The “C-shape” (best for a fresh, glowy look)
Sweep blush in a soft curve from the outer cheek up toward the outer brow area. This creates a natural halo of color that reads modern and de-puffs the center of the face.
- Use a lighter hand and build in thin layers.
- Works especially well with cream blush plus a light setting powder.
3) The draped look (when you want cheekbones to show)
Draping uses blush almost like soft contour, higher on the cheekbone and slightly into the temple. It’s easy to overdo, so start sheer.
- Pick a tone close to your natural flush.
- Keep the color concentrated high, then diffuse edges.
Choose blush formula and tools that won’t add extra width
Placement matters most, but formula and brush shape decide whether it stays lifted or spreads everywhere. If your blush keeps drifting toward the center, this section is usually the fix.
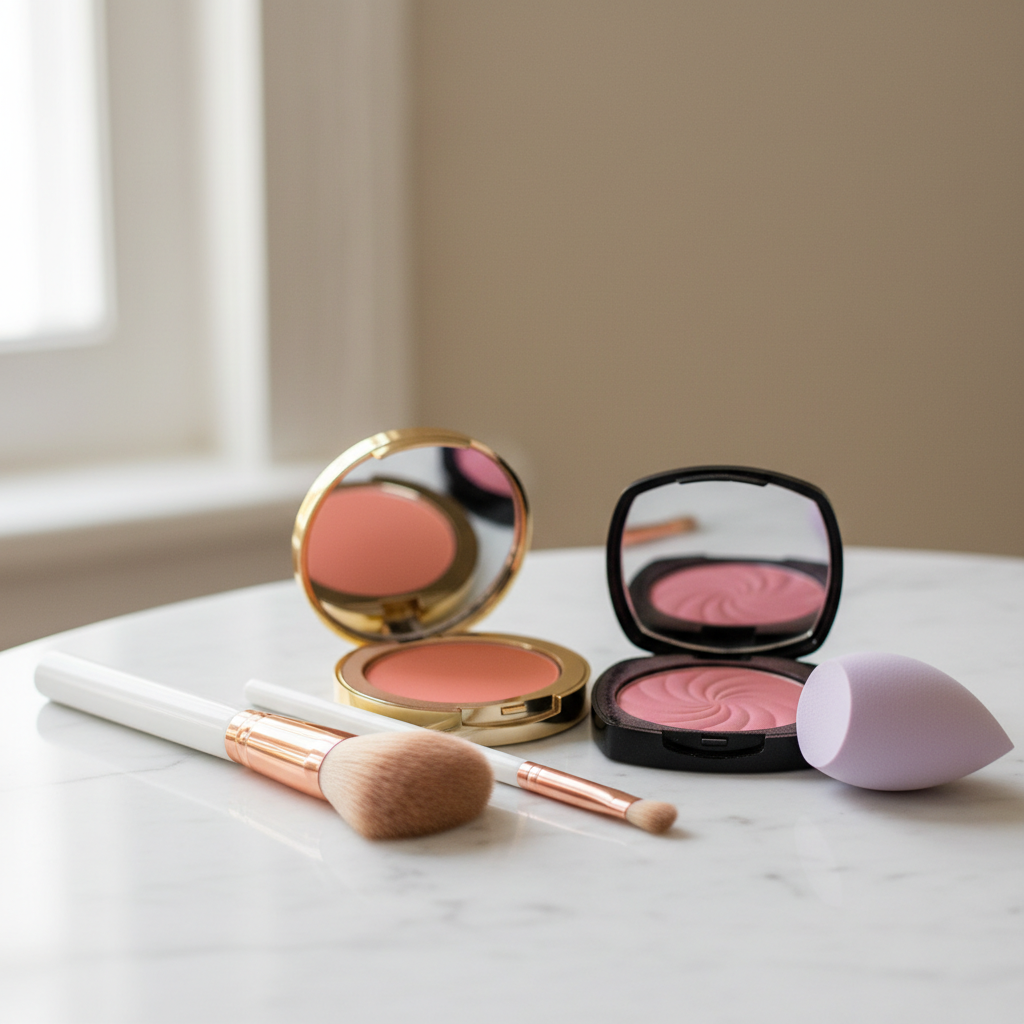
Powder vs cream vs liquid (what typically works)
- Powder blush: easiest to control and blend upward, great for oily skin or long wear.
- Cream blush: more skin-like, great for dry or mature skin, but can spread if you apply too much at once.
- Liquid blush: very pigmented in many cases, best applied in tiny dots, then blended up quickly.
Brush shapes that help a round face
- Angled blush brush helps you keep that lifted direction.
- Small tapered brush is perfect for targeted placement high on the cheekbone.
- A big fluffy brush can work, but it often diffuses too wide unless your blush is very sheer.
Step-by-step: how to apply blush for round face (real-world routine)
This is the routine that fits most daily makeup, fast, forgiving, and easy to adjust for your features.
- Prep: apply moisturizer and SPF, then base makeup if you wear it.
- Find your lift line: imagine a line from the outer corner of your mouth to your ear, stay above it.
- Place first, blend second: tap blush on the outer cheek area, then blend upward toward the temple.
- Keep the center clean: avoid bringing blush too close to the nose.
- Check symmetry: look straight ahead, then turn your head slightly, the lift should be visible from both angles.
- Soften edges: use a clean brush or sponge to blur any harsh line.
If you want an extra “snatched but still natural” look, add a tiny bit of bronzer under the blush line, then keep highlight minimal so the mid-face doesn’t pop forward.
Cheat sheet table: placement, effect, and who it suits
| Placement | What it does | Best for |
|---|---|---|
| High outer cheek, blended up | Creates lift, narrows the center | Most round faces, everyday makeup |
| C-shape into temple | Fresh, glowy “open face” effect | Dry/normal skin, minimal base makeup |
| Apples of cheeks (center) | Cute, youthful flush but adds roundness | Only if you want extra fullness, or very sheer blush |
| Draped high on cheekbone | Defines cheekbones, editorial vibe | Evening looks, photos, confident blending |
Mistakes that make a round face look rounder (and quick fixes)
Most “my blush looks off” moments come from two things, too much product at once, or blending in the wrong direction.
- Mistake: applying blush on the apples then blending outward.
Fix: start on the outer cheek and blend inward only slightly. - Mistake: using a shade that’s too bright or too deep for daytime.
Fix: switch to a softer tone, or sheer it out with translucent powder. - Mistake: placing blush too low, close to the smile line.
Fix: move it higher, and keep it above the “lift line.” - Mistake: heavy shimmer on the fullest cheek area.
Fix: keep glow higher on the cheekbone, not in the center.
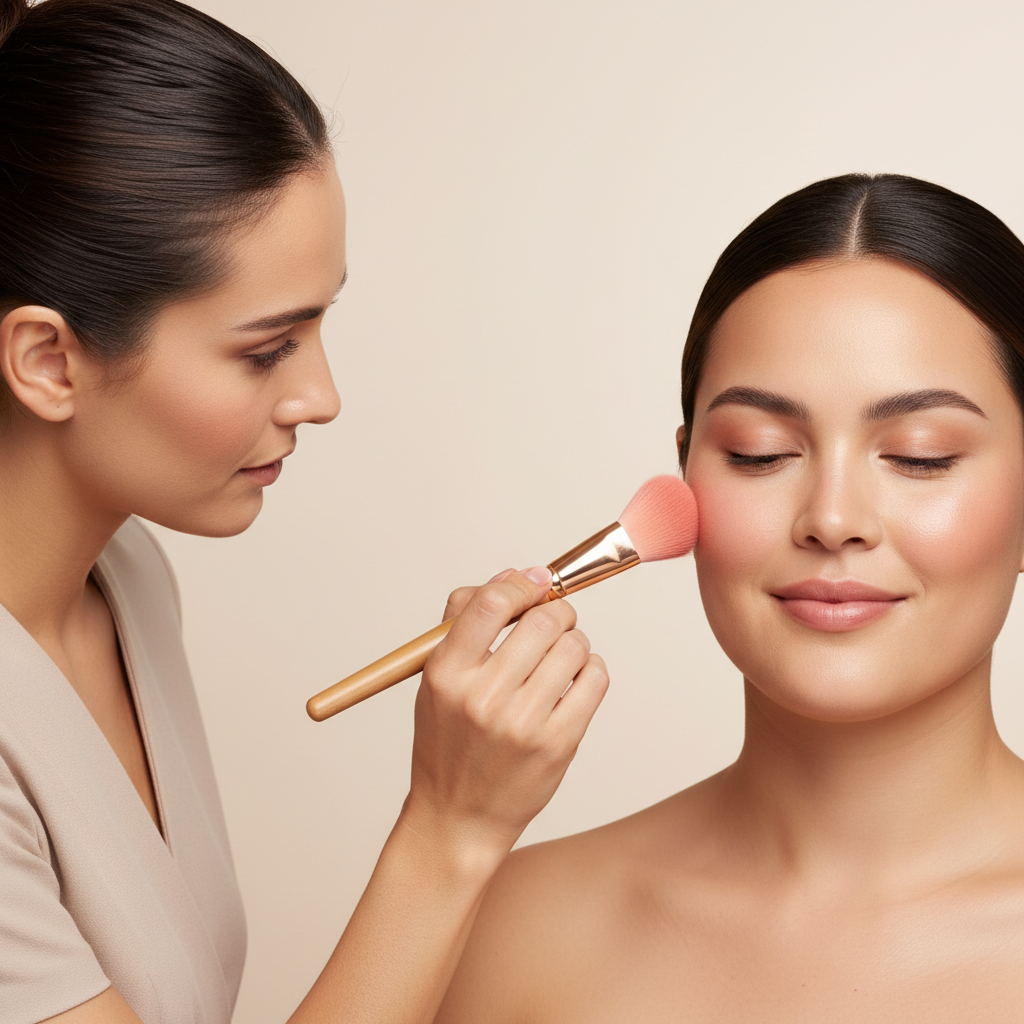
If you over-apply, don’t panic. Press a clean sponge over the area to lift excess pigment, then add a tiny bit of your base product around the edges to re-blur the shape.
Key takeaways (save this for your mirror)
- Keep blush higher and more outward to create lift.
- Avoid the center of the face if you’re trying to reduce roundness.
- Use an angled or tapered brush for controlled placement.
- Build in layers, especially with cream or liquid formulas.
Conclusion: a lifted blush placement beats “more product” every time
Once you see your own face respond to a higher, outward blush placement, it clicks, most round-face blush issues aren’t about the blush itself, they’re about where the color sits and where it fades out.
Pick one placement to practice for a week, take a quick photo in natural light, and adjust by millimeters. That tiny change is usually what makes how to apply blush for round face feel easy instead of trial-and-error.
FAQ
- Where should I put blush if I have a round face and chubby cheeks?
Keep the color on the outer cheek and slightly above the apple, then blend up. That keeps the fullest part of the cheek cleaner so it doesn’t project as much. - Should I avoid blush on the apples completely?
Not always. If you love a youthful look, use a very sheer shade and keep it small, then pull the edge up toward the temple so it still reads lifted. - What blush color is most flattering for round faces?
Face shape affects placement more than color, but softer rosy, peach, and muted berry tones are usually easier to control. Very bright shades can work, they just demand a lighter hand. - How do I apply cream blush on a round face without it spreading?
Use tiny dots placed high on the outer cheek, then blend upward with fingers or a sponge. Set lightly at the edge if you notice migration. - Can contour replace blush for slimming a round face?
Contour and blush do different jobs. Contour creates shadow, blush brings life back. Many people like both, but a lifted blush placement alone can already change the proportions. - Why does my blush look good in the mirror but rounder in photos?
Flash and flat lighting can emphasize the mid-face. Try placing blush slightly higher, and keep shimmer away from the fullest cheek area. - Is powder blush better than cream for oily skin?
Often yes, because powder tends to stay put longer. If you prefer cream, a light setting powder can help, but patchiness can happen depending on your base products.
If you’re trying to simplify your routine, or you keep buying blush that looks great in the pan but tricky on your cheeks, a small refresh of shades and tools can make the technique feel effortless without changing your whole makeup style.