
How to put in earrings for beginners usually feels harder than it “should” because the basics are tiny, slippery, and easy to rush, especially when you’re staring into a mirror and your hands suddenly feel clumsy.
The good news, you don’t need special talent. You need a simple order of operations: clean hands, the right earring type, the right angle, and a gentle finish so your ear stays calm instead of irritated.
This guide walks through the common “why won’t it go through” moments, a quick self-check to figure out what you’re dealing with, and beginner-friendly steps for studs, hoops, and flat-back styles. I’ll also flag a few situations where it’s smarter to pause and ask a piercer for help.
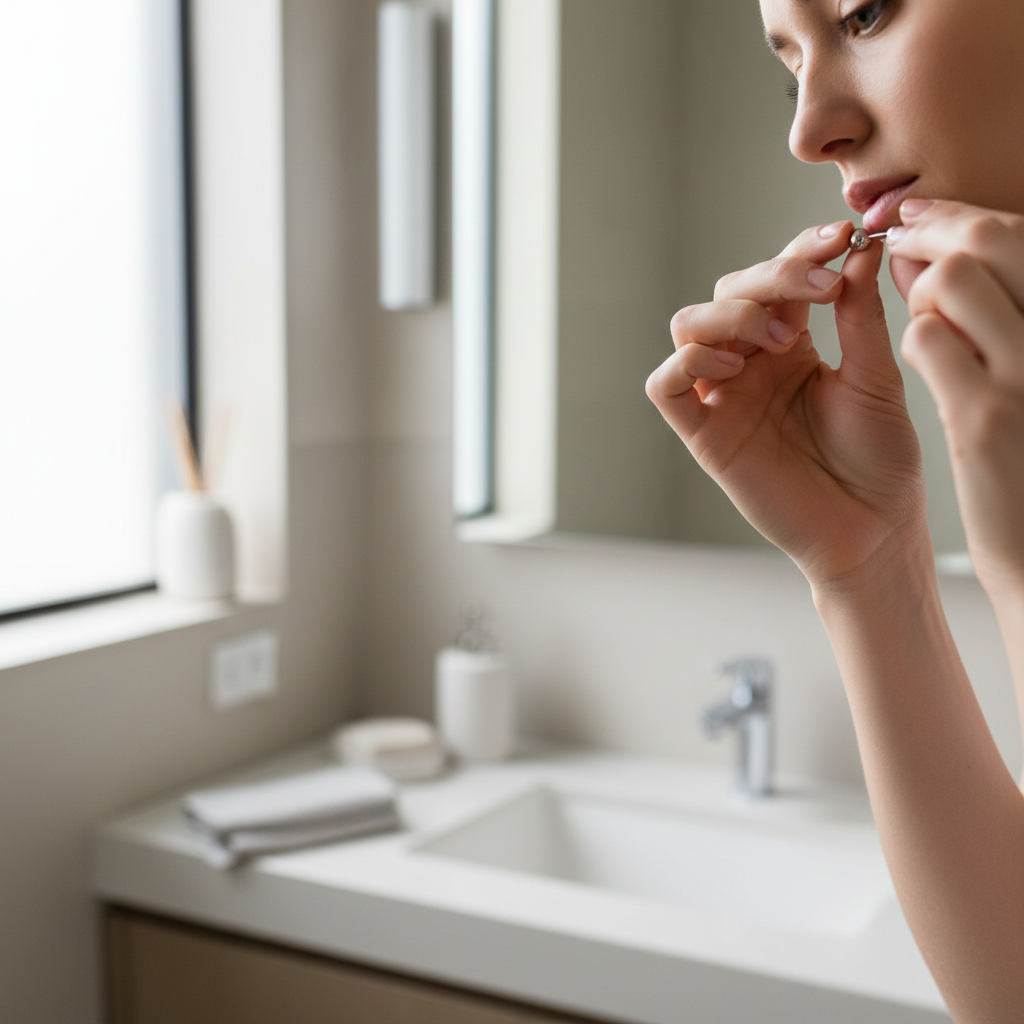
What makes earrings tricky for beginners (and what usually fixes it)
If you’re new to earrings, the struggle is rarely “pain tolerance.” It’s almost always one of these practical issues.
- You’re fighting the mirror. Movements reverse, so your hand goes left when your brain wants right. A small angle error makes the post miss the hole.
- Dry skin and friction. Even a healthy piercing can feel “tight” if the skin is dry or you’re pushing too fast.
- The post is too thick or too long for the moment. Some fashion studs have thicker posts than starter jewelry. Long posts can also wobble and poke.
- Swelling or irritation. Sleeping on the ear, hair products, or frequent touching can make the channel puffy, then everything feels stuck.
- Wrong backing for your skill level. Tiny butterfly backs look simple but can be fiddly; flat-back labret styles can be easier once you learn the method, but confusing at first.
According to the American Academy of Dermatology (AAD), skin irritation and infection risk go up when piercings are handled with unclean hands or exposed to irritants, so the “prep” part matters more than most people think.
Quick self-check: what kind of situation are you in?
Before you push harder, take 20 seconds and identify which bucket you’re in. It saves you from turning a small snag into a sore ear.
- New piercing (still healing, tender, crusting, or warm): you should be extra cautious, and you might want a piercer to insert jewelry.
- Healed piercing, but tight today (no heat, no spreading redness): usually dryness, angle, or mild irritation.
- Partially closed hole (you can’t find the channel from the back): you may need a smaller post or professional help, forcing it can cause tears.
- Concerning signs (worsening pain, pus-like drainage, hot swelling, fever): stop and consider medical advice.
Key point: “A little resistance” is normal. Sharp pain, burning, or a crunchy feeling is your cue to stop.
Get set up: what you need (and what to avoid)
How to put in earrings for beginners gets easier when your setup is boring and consistent. You’re aiming for clean, well-lit, and steady.
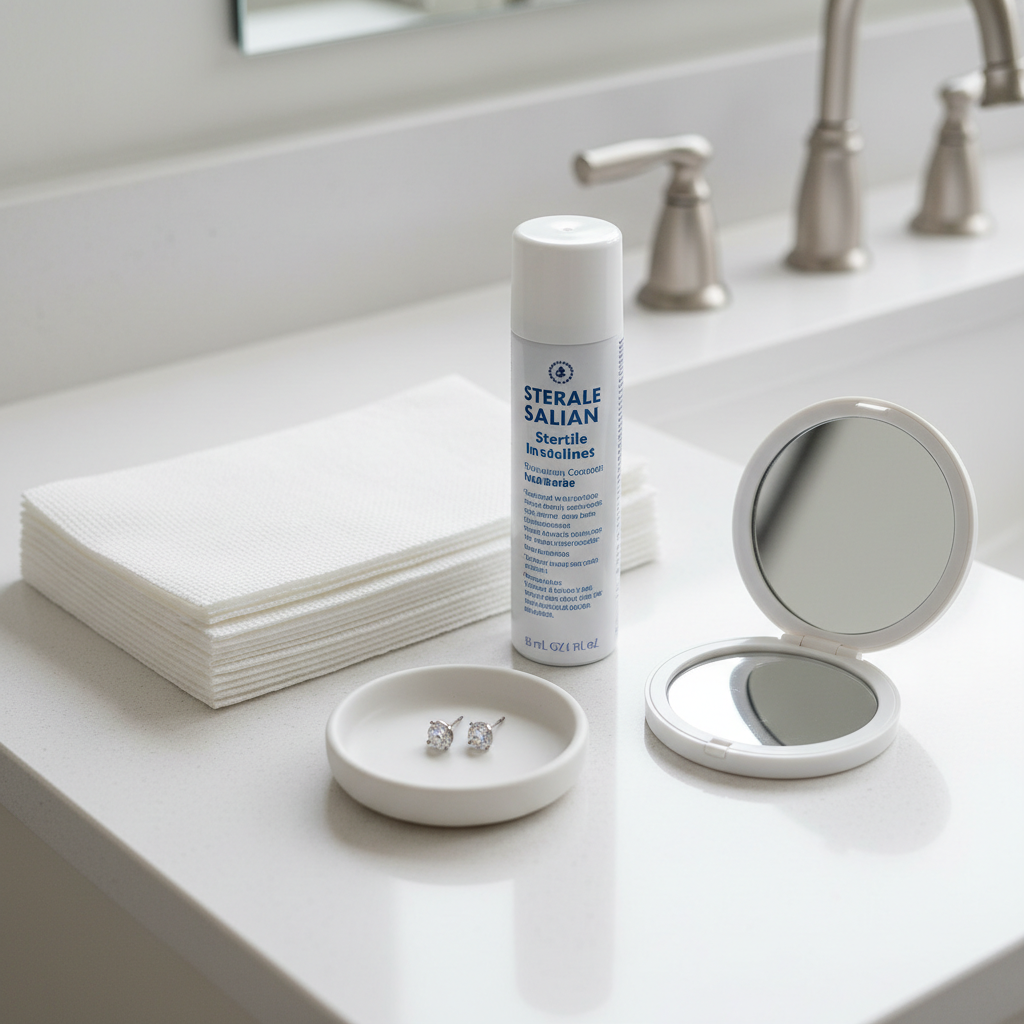
Simple beginner kit
- Soap and warm water for your hands
- Mirror with good lighting (bathroom light plus a lamp helps)
- Clean tissue or paper towel
- Saline wound wash (sterile) if your piercing is healing or easily irritated
- Optional: a second mirror (to see the back), or a phone camera on selfie mode
Avoid these common “hacks”
- Alcohol or hydrogen peroxide on the piercing for routine care, these often dry and irritate skin
- Oils and heavy creams inside a healing piercing, they can trap debris
- Twisting jewelry repeatedly if healing, that can aggravate tissue
According to the Association of Professional Piercers (APP), sterile saline is generally recommended for aftercare, and overly harsh products can slow healing in many cases.
Step-by-step: how to put in stud earrings (the easiest starting point)
Studs are usually the best training wheels because you can control the post and backing separately. Go slow and keep your grip gentle.
1) Clean and calm the area
- Wash hands thoroughly, dry with a clean towel.
- If needed, rinse the piercing with sterile saline and pat dry. Don’t leave it wet.
2) Find the hole without forcing it
- Hold the stud by the front, not the sharp end of the post.
- Use your other hand to lightly steady the earlobe.
- Touch the post tip to the front opening until you feel it “seat” into the channel.
3) Match the angle, then glide
- Keep the post parallel to the floor or aligned with the original piercing angle.
- Push slowly until the post shows through the back. If it stings sharply, back out and reset.
4) Put the backing on without pinching
- Hold the post steady, then slide the backing on.
- Leave a tiny bit of breathing room. Too tight can cause swelling or embedding.
Beginner reality: the hardest part is often lining up the first 2 millimeters. If you keep missing, take a break, breathe, and try with brighter light.
Hoops and huggies: how to close them without bending the metal
Hoops look simple until you’re trying to close a tiny hinge or clicker with one hand. The trick is stabilizing the ear and letting the hoop do the work.
For thin hoops with a latch or clicker
- Open the hoop fully so you can see where the post enters.
- Insert from the front, rotating the hoop gently as the post follows the channel.
- When the post exits the back, close the latch by bringing the ends together, not by squeezing the hoop into a new shape.
For huggies (small, close-fitting hoops)
- If your lobe feels puffy, huggies may feel tight, consider a slightly larger hoop for that day.
- Confirm the click feels secure, but don’t “double click” with extra force.
How to put in earrings for beginners with hoops often comes down to patience, if you bend the hoop, it may never sit right again.
Flat-back earrings and screw-backs: beginner-friendly once you know the method
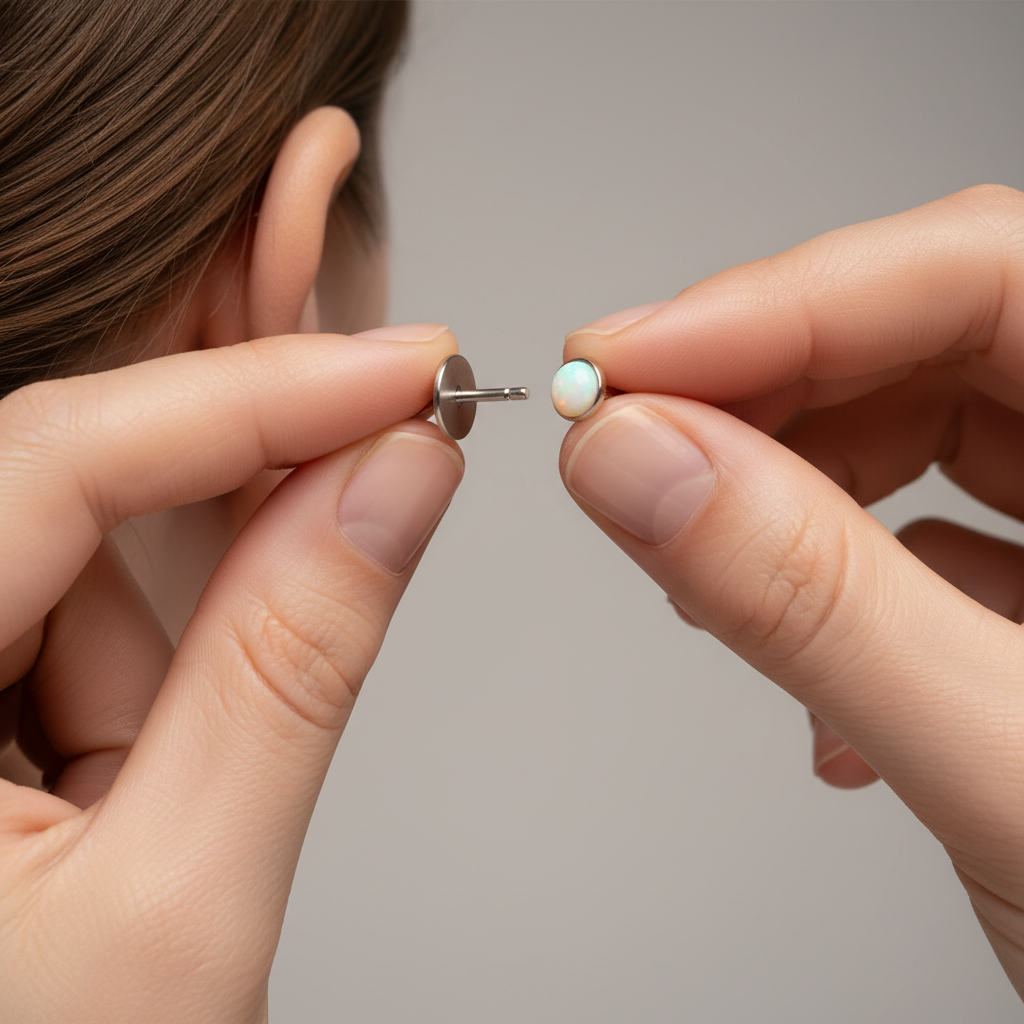
Flat-back labret styles can feel more comfortable for sleeping, but insertion confuses many beginners because you’re working from the back.
Flat-back (labret) basics
- Insert the flat-back post from the back of the ear toward the front.
- Hold the front piece and twist gently to secure, usually clockwise, but check your jewelry.
- Use a mirror or phone camera so you don’t cross-thread.
Screw-backs
- Start threading slowly. If you feel resistance immediately, stop and realign.
- Do not overtighten, snug is enough for many designs.
Small safety note: If you have acrylic nails or limited hand dexterity, these styles can be frustrating, and a piercer can often swap jewelry quickly with less irritation.
Troubleshooting chart: what to do when it won’t go in
If you’re stuck, don’t escalate pressure. Diagnose the “stuck point,” then choose the gentlest fix.
| What you feel/see | Likely cause | What to try next |
|---|---|---|
| Post won’t find the hole at all | Angle mismatch, low light | Brighter light, steady lobe, try from front while checking back with a second mirror |
| It starts, then stops halfway | Dryness, mild swelling | Saline rinse, wait 5–10 minutes, try again slowly; consider thinner post |
| Sharp pinch or burning | Micro-tear, irritation | Stop, remove, clean gently, let it rest; if it persists, ask a piercer |
| Back won’t slide on | Grip issue, backing too tight | Use tissue for grip, try a larger backing; avoid clamping too close |
| Redness spreading or warmth | Possible infection or allergic reaction | Pause jewelry changes; consider medical advice, especially if drainage or fever |
Practical tips that make beginners successful (without overthinking it)
This is the “real life” part. These small adjustments often matter more than fancy tools.
- Try after a warm shower, skin tends to be softer, but dry the piercing before inserting.
- Use a simple post first, then switch to statement earrings once you know your angle.
- Stop touching the front while you hunt for the back opening, keep your fingers on the post and lobe, not the decorative part.
- Don’t sleep on fresh irritation, even a healed piercing can get cranky after pressure.
- Choose hypoallergenic metals if you react easily, many people do better with implant-grade titanium or certain gold alloys, but sensitivities vary.
Key takeaway list:
- Clean hands and good lighting beat force every time.
- Match the original piercing angle, don’t invent a new path.
- When pain turns sharp, stop and reset.
When to get help from a piercer or clinician
How to put in earrings for beginners sometimes bumps into situations where DIY just causes more swelling and stress.
- New or still-healing piercing and you can’t reinsert jewelry easily
- Suspected closure and you’re tempted to “push through”
- Embedded backing or skin growing over jewelry
- Signs of infection like worsening redness, heat, pus-like drainage, or feeling unwell
According to the Mayo Clinic, worsening redness, swelling, pain, or discharge can be signs of infection that may need medical evaluation, when in doubt, it’s reasonable to ask a professional rather than guessing.
Conclusion: a calm routine beats force
How to put in earrings for beginners is mostly a skill problem, not a toughness problem, and once you learn your angle and your preferred jewelry type, it becomes a 30-second habit.
If you want one simple plan for your next attempt, wash hands, use bright light, start with a basic stud, and stop the moment you feel sharp pain. If it keeps fighting you for more than a couple tries, that’s usually your sign to switch earrings or ask a piercer to check what’s going on.
FAQ
- Why can I get the earring in from the front but not out the back?
That often means the angle shifts as you push, or the back opening is slightly tighter. Use a second mirror and keep the post steady, slow pressure usually helps more than wiggling. - Is it normal for my ears to bleed a little when I put earrings in?
A tiny spot of blood can happen if you nick dry skin, but bleeding that repeats or comes with swelling suggests irritation. Give it a break, keep it clean, and consider professional advice if it continues. - What if my piercing hole seems closed but I can still see a dent?
It might be partially narrowed. Forcing jewelry can create a tear, so many people do better visiting a piercer who can assess and, if appropriate, taper safely. - Should I twist earrings while inserting them?
Gentle rotation can help a hoop follow the curve, but aggressive twisting can irritate tissue. If it needs lots of twisting, the angle or jewelry type may be wrong. - What earrings are easiest for beginners?
Simple studs with a smooth, straight post are usually easiest. Very small huggies and complex backs tend to feel harder until your hands learn the motion. - Can I use petroleum jelly to make it slide in?
For a healed piercing, a tiny amount might reduce friction, but it can also trap debris. If you’re healing or prone to irritation, sterile saline and patience are typically safer; when unsure, ask a piercer. - Why do my ears get itchy after I put earrings in?
Itch can come from dryness, soap residue, or a metal sensitivity. If itch comes with rash or persistent redness, try hypoallergenic metals and consider medical advice.
If you’re still wrestling with backs, posts, or irritated lobes, and you’d rather not experiment, a reputable piercing studio can usually help you choose beginner-friendly jewelry and show the insertion technique that fits your piercing angle.