
how to paint nails perfectly at home comes down to two things most people rush: prep and dry time, not “better polish.” If your manicure looks streaky, floods the cuticles, or chips the next day, it’s usually a process problem, not a talent problem.
You also don’t need a salon-level kit to get a clean finish, you need the right order, a steady setup, and a few small habits that prevent smudges and premature chipping. The good news, once you lock in a routine, your results get consistent fast.
Below is a practical, no-drama method you can repeat, plus quick fixes for the most common mistakes, and a few safety notes for sensitive nails and skin.
What usually goes wrong (and why it matters)
Before you change products, it helps to name the usual culprits. Most “bad at painting nails” moments are predictable.
- Skipping proper prep: oil, lotion, or residue blocks adhesion, so polish lifts and chips early.
- Cuticle flooding: paint touching skin breaks the seal at the nail edge, peeling starts there.
- Too-thick coats: thick layers look smooth for five minutes, then dent, wrinkle, or stay soft underneath.
- Rushing dry time: nails can feel dry on top while still soft below, so they smudge hours later.
- Old or gloopy polish: it drags, streaks, and forms bubbles more easily.
According to the American Academy of Dermatology (AAD), gentle nail care and avoiding harsh practices can help prevent brittleness and breakage, which matters because damaged nails rarely hold polish well.
Quick self-check: are you set up for a smooth manicure?
This checklist is boring, and it’s also the difference between a manicure that lasts two days and one that looks decent a week later.
- You can sit with your forearms supported (table edge, pillow, or folded towel).
- Your nails are clean and dry, with no hand cream applied in the last 30 minutes.
- You have base coat, top coat, and a way to clean mistakes (small brush or cotton swab).
- Your polish isn’t stringy, chunky, or separating aggressively after shaking/rolling.
- You can leave your hands alone for 20–30 minutes after painting.
If two or more of these are “no,” fix that first, you’ll save more time than any fancy technique.
Tools and products that actually help (without overbuying)
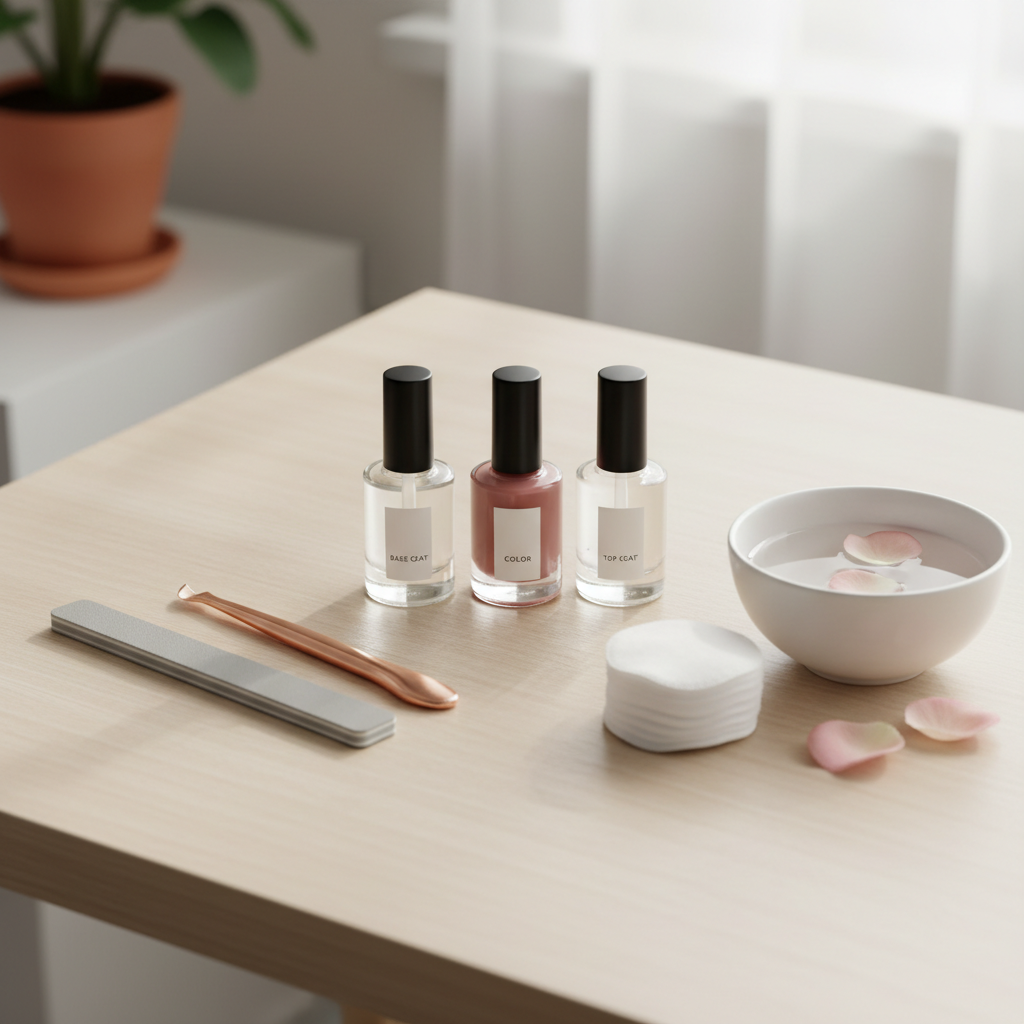
You can paint nails perfectly at home with a small kit. This is the short list that tends to matter, plus what each item is really doing.
- Base coat: improves adhesion and can reduce staining from darker colors.
- Top coat: adds gloss and forms a protective layer against chips.
- Nail file (180–240 grit): shapes edges without shredding them.
- Cuticle pusher (gentle): clears the nail plate so polish sits flat. If your cuticles are irritated or cracked, go lighter.
- Lint-free wipes or cotton: for cleanup and removing residue.
- Polish remover: acetone works fast, non-acetone can be less drying but sometimes needs more rubbing.
Optional but useful: quick-dry top coat (often more reliable than “quick-dry drops”), a small cleanup brush, and a ridge-filling base if your nails are uneven.
The step-by-step method for a clean, even finish
If you’re trying to figure out how to paint nails perfectly at home, this sequence is the closest thing to “cheat codes.” The key is thin layers and keeping polish off skin.
1) Prep: clean, shape, and lightly de-oil
Remove old polish completely, then wash hands and dry well. File to shape in one direction per side to reduce splitting, then gently push back cuticles rather than cutting them.
If you use remover right before painting, wait a minute so the nail surface fully dries. Avoid hand lotion until after the top coat cures.
2) Base coat: one thin layer
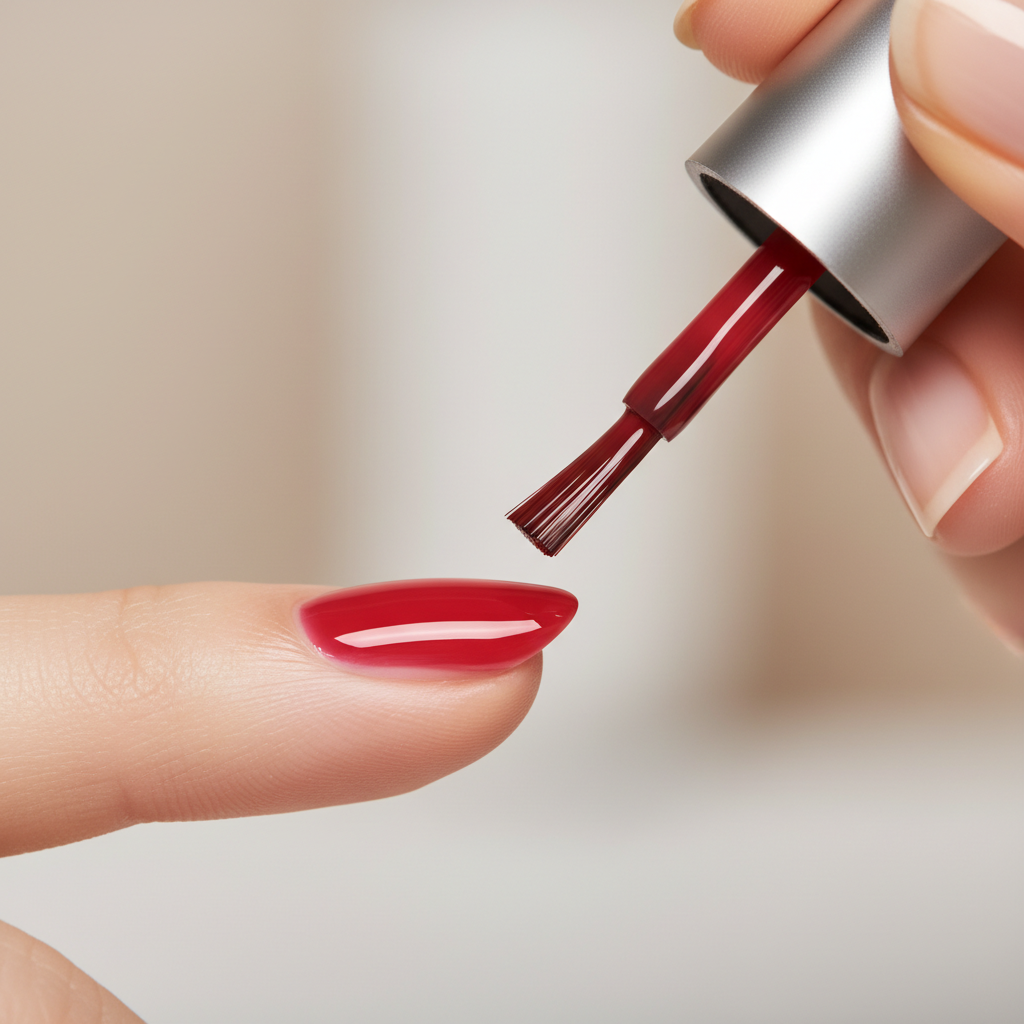
Wipe one side of the brush on the bottle neck, you want less product than you think. Apply a thin base coat and cap the free edge, that means lightly brushing across the tip of the nail.
3) Color: two thin coats, three strokes
The “three-stroke” idea keeps things neat: one stroke down the center, one on each side. Don’t chase perfection on the first coat, it should look a bit sheer.
- Leave a hairline gap near the cuticle so it doesn’t flood.
- Let the first coat set for a few minutes, then add the second thin coat.
- If you need a third coat for opacity, keep it very light and wait longer between layers.
4) Clean up edges while polish is still workable
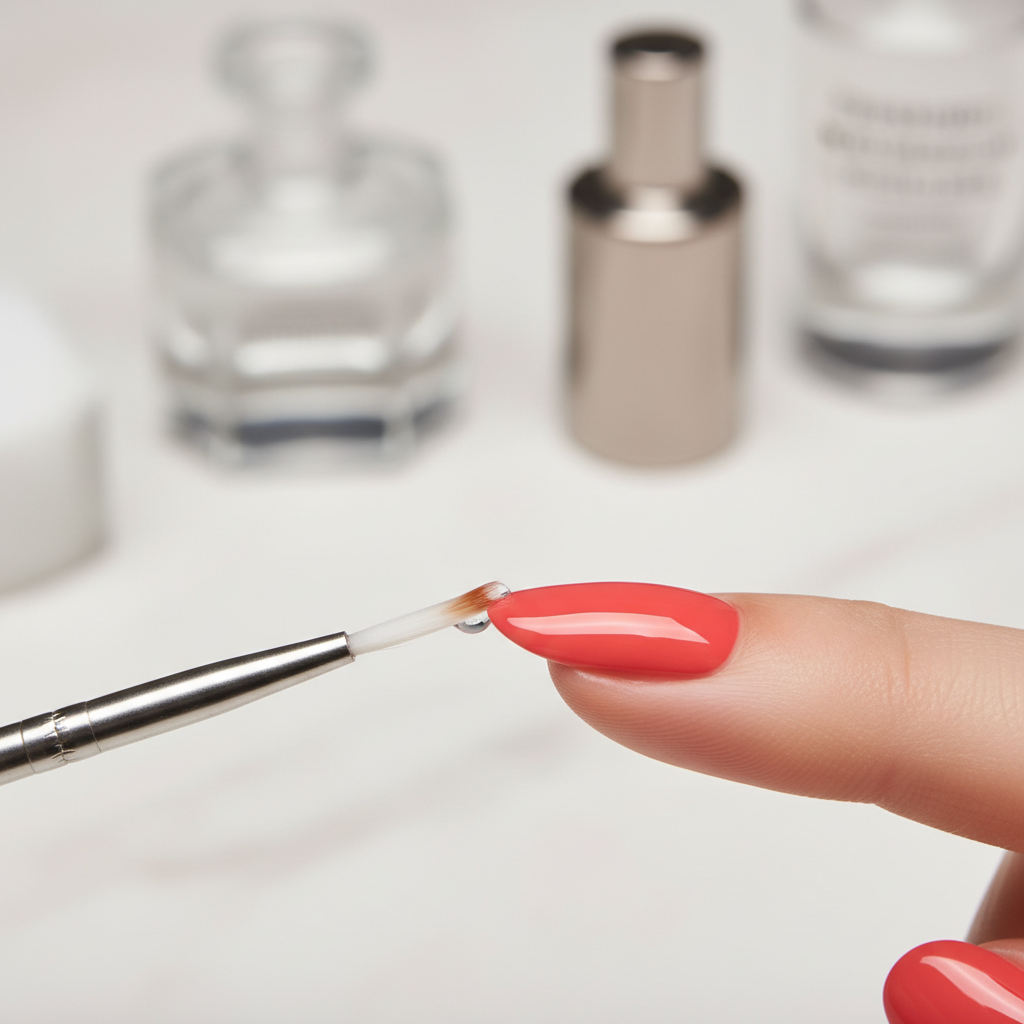
Dip a small brush or cotton swab in remover, blot off excess, then trace the cuticle line. This feels fussy, but it’s what makes an at-home manicure look intentional instead of “almost.”
5) Top coat: seal and cap
Apply top coat with light pressure so you don’t drag color. Seal the tips again. If you tend to chip fast, this single detail matters more than switching brands.
6) Dry and cure: protect the first hour
Most smudges happen when nails feel dry but aren’t cured. Give yourself 20–30 minutes before doing anything with pressure, and try to avoid hot showers or heavy cleaning for at least an hour.
Timing guide: how long each layer should take
Dry time depends on polish formula, room humidity, and coat thickness, so treat this as a baseline, not a promise. If you’re struggling, the fix is almost always thinner coats and more time.
| Step | Typical wait time | What you’re looking for |
|---|---|---|
| After base coat | 1–3 minutes | Tacky but not wet |
| Between color coats | 3–7 minutes | Surface sets, no dragging |
| After top coat | 15–30 minutes | Touch-safe, less dent-prone |
| Full cure | Several hours (often overnight) | Resists pressure and imprints |
Common problems and fast fixes
Here’s the part most tutorials skip: what to do when it still goes sideways.
- Streaks: switch to thinner coats, roll the bottle between palms, and let the first coat be imperfect. Very pale shades often need three thin coats.
- Bubbles: avoid shaking hard, don’t paint in front of a fan, and don’t overload the brush. Old polish also bubbles more.
- Polish pooling at cuticles: use less product, keep a small gap, and do quick cleanup before it sets.
- Chipping in 24–48 hours: cap the tips, use base coat, and avoid soaking hands right after painting. Re-top coat on day 2–3 often extends wear.
- Dents and sheet marks: you likely need more cure time, or your layers are too thick. Quick-dry top coat can help, but it’s not magic.
Safety and nail health: what not to “push through”
If your nails feel sore, your cuticles look inflamed, or your skin stings with remover, slow down. Minor irritation is common, but ongoing redness, cracking, or swelling deserves caution.
- Avoid aggressive cuticle cutting: it can increase infection risk. If you’re prone to hangnails, keep cuticles moisturized instead.
- Be careful with acetone: it can be drying, so rinse after removal and apply hand cream later. If you have eczema or very sensitive skin, consider asking a professional what’s safest.
- Watch for allergy signs: repeated itching, rash around nails, or lifting can indicate sensitivity to certain ingredients. If that happens, it may be worth consulting a dermatologist.
According to the U.S. Food and Drug Administration (FDA), cosmetics should be used as directed and consumers should stop using products that cause irritation, especially if symptoms persist.
Key takeaways (save this for next time)
- Prep and thin coats beat expensive polish in most cases.
- Keep polish off skin, a clean cuticle line helps prevent peeling.
- Cap the free edge with base and top coat to reduce tip chips.
- Plan for cure time, “dry to touch” isn’t the same as fully set.
Conclusion: a salon-clean manicure is mostly repeatable process
If you’ve been trying to paint nails perfectly at home and feeling like it’s random, it’s usually not random, it’s the same two or three steps being rushed. Start by tightening prep, commit to thinner coats, and protect the first hour after top coat.
Action idea for your next manicure: set a timer for drying between coats and do a day-2 top coat refresh, those two habits alone tend to make the biggest visible difference.
FAQ
- How do I keep nail polish from getting on my cuticles?
Use less polish on the brush, leave a tiny gap at the cuticle, and paint with three controlled strokes. Cleanup with a small brush and remover works better than trying to “wipe it off” with a finger. - Why does my polish look thick and uneven even when I try to be careful?
Usually the coats are too heavy, or the polish has thickened in the bottle. Thin layers and a little more wait time between coats typically smooth things out. - Is base coat really necessary if I use a good top coat?
In many cases, yes. Base coat improves grip on the nail plate and can reduce staining, so color stays put longer, especially with darker shades. - How can I make my manicure last longer without gel?
Cap the tips, avoid soaking hands right after painting, wear gloves for dishwashing, and add a fresh layer of top coat on day 2 or 3. - What’s the best way to fix a smudge without starting over?
If it’s fresh, you can sometimes smooth it with a tiny bit of top coat and a very light touch, then re-top coat the nail. If it’s badly dented, it’s often faster to remove and repaint that one nail. - Why do my nails chip faster on certain fingers?
Your dominant hand and “working” fingers take more impact. Those nails benefit most from tip capping and slightly shorter length. - Can I paint my nails if my cuticles are irritated?
It depends. If skin is cracked, swollen, or painful, giving it a break may be smarter, and if irritation keeps coming back, consider checking with a dermatologist.
If you’re trying to simplify your routine, a small “core kit” with a reliable base coat, a forgiving crème polish, and a durable top coat makes the whole process less stressful, and it’s easier to stay consistent when everything you need is in one place.