
How to do winged eyeliner easy usually comes down to two things, your setup and your plan, not “having steady hands.” If your wings keep turning into uneven triangles, skip the pressure and use a repeatable method that gives you a clean guide, then fill in.
Winged liner is one of those techniques that looks simple on other people, then feels weirdly hard in a magnifying mirror. Small differences in eye shape, lid texture, and product choice can change everything, so copying a one-size tutorial often backfires.
This guide keeps it practical, you’ll get a quick self-check, a couple beginner-friendly wing methods, fixes for common mistakes, and a simple table to pick the right eyeliner for your situation. You’ll also see when it’s smarter to change your wing angle instead of fighting your eyelid.
What usually makes winged eyeliner hard (and how to stop fighting it)
The “difficulty” usually isn’t skill alone, it’s friction from the wrong combo of product, eye shape, and technique. Here’s what tends to cause most beginner frustration.
- Your eyelid folds over the line (hooded or partially hooded lids), so the wing disappears or stamps onto the upper lid.
- You’re drawing with a floating hand, meaning your elbow and pinky have no support, the line wobbles even if you’re calm.
- The tip drags because your lid has skincare residue, sunscreen, or a tacky concealer layer.
- You’re aiming for a dramatic wing too early, a small “lift” wing is easier, and it still reads as winged liner in real life.
- Both eyes are naturally different, so “matching” them perfectly becomes the goal, and you keep adding more until it’s too thick.
According to the American Academy of Ophthalmology, eye makeup should be used carefully to avoid irritation and infection risks, especially around the lash line. So if your eyes get red or watery often, product choice and hygiene matter as much as technique.
Quick self-check: pick your wing method in 30 seconds
Before you start, decide which lane you’re in. This saves a lot of wipe-and-retry time.
If you have hooded lids or limited lid space
- Choose a thin line along the lashes and a shorter, more upward wing.
- Use the “open-eye mapping” method (you’ll draw the wing while looking straight ahead).
If your eyelids are oily or liner always transfers
- Pick a waterproof or long-wear formula, and set the area lightly with translucent powder.
- Plan on doing small strokes, not one long swipe.
If your hands shake or your line turns jagged
- Use a gel liner with an angled brush, or a felt-tip pen with a very fine point.
- Anchor your elbow on the counter and rest your pinky on your cheek.
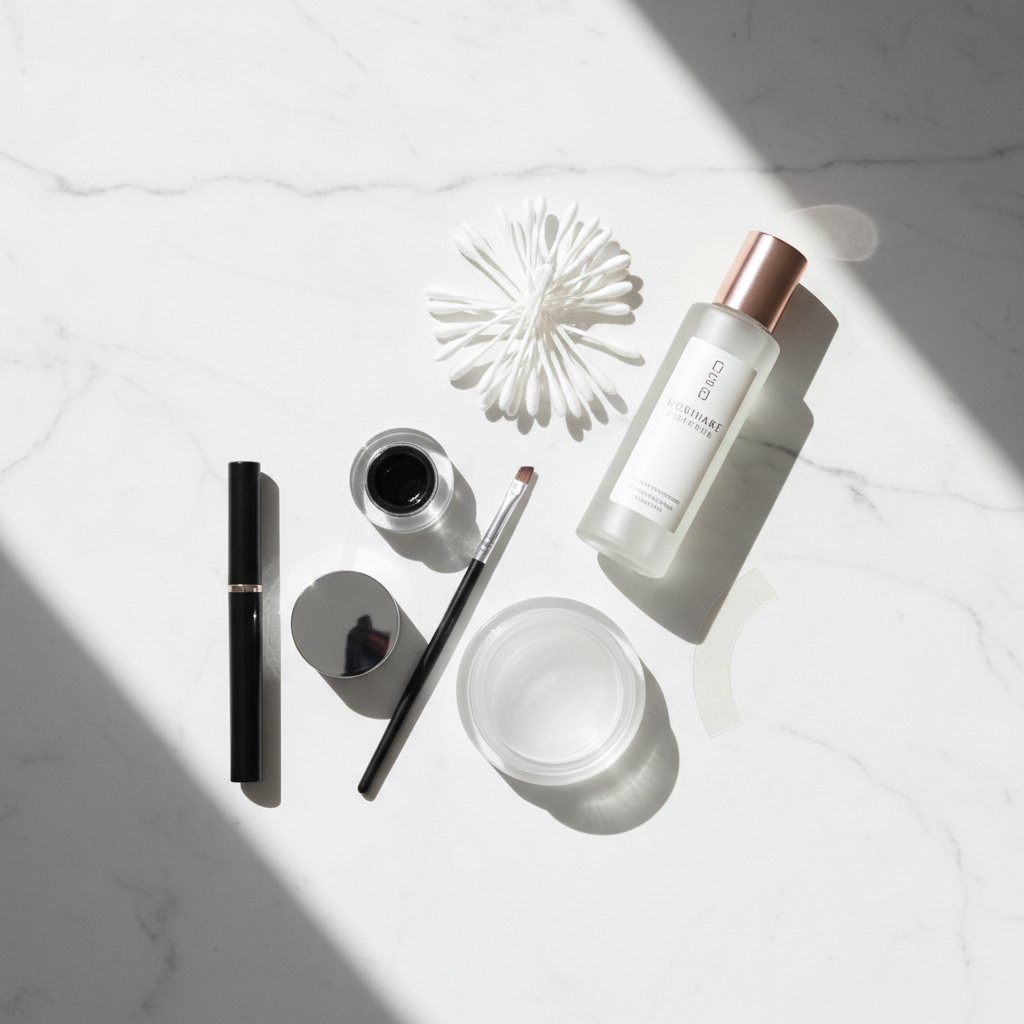
Tools and products that make winged eyeliner easier (table)
You can absolutely learn with what you have, but the right tool removes unnecessary difficulty. Here’s a realistic starter guide.
| Option | Best for | Watch-outs |
|---|---|---|
| Felt-tip liquid pen | Fast, crisp wings, beginners who like structure | Can skip on textured lids, dries out if stored poorly |
| Brush-tip liquid pen | Thin, flexible lines, soft flicks | Harder to control if you press too much |
| Gel pot + angled brush | Shaky hands, smudge control, adjustable thickness | Needs brush cleaning, can get thick if you overload |
| Pencil (kohl or long-wear) | Soft “shadow wing,” sensitive beginners | Less sharp, may smudge on oily lids |
My practical pick for most beginners: a felt-tip pen for mapping, plus a small angled brush (even without gel) to soften edges with shadow if needed.
How to do winged eyeliner easy: the “dot-and-connect” beginner method
This is the method that stops you from freehanding a whole wing in one risky move. You place guide points, then connect them.
Step 1: Prep so the tip can glide
- Blot the eyelid, then add a thin layer of primer or concealer.
- Set with a light dusting of translucent powder, especially near the outer corner.
- If your eyes water easily, keep product away from the inner corner.
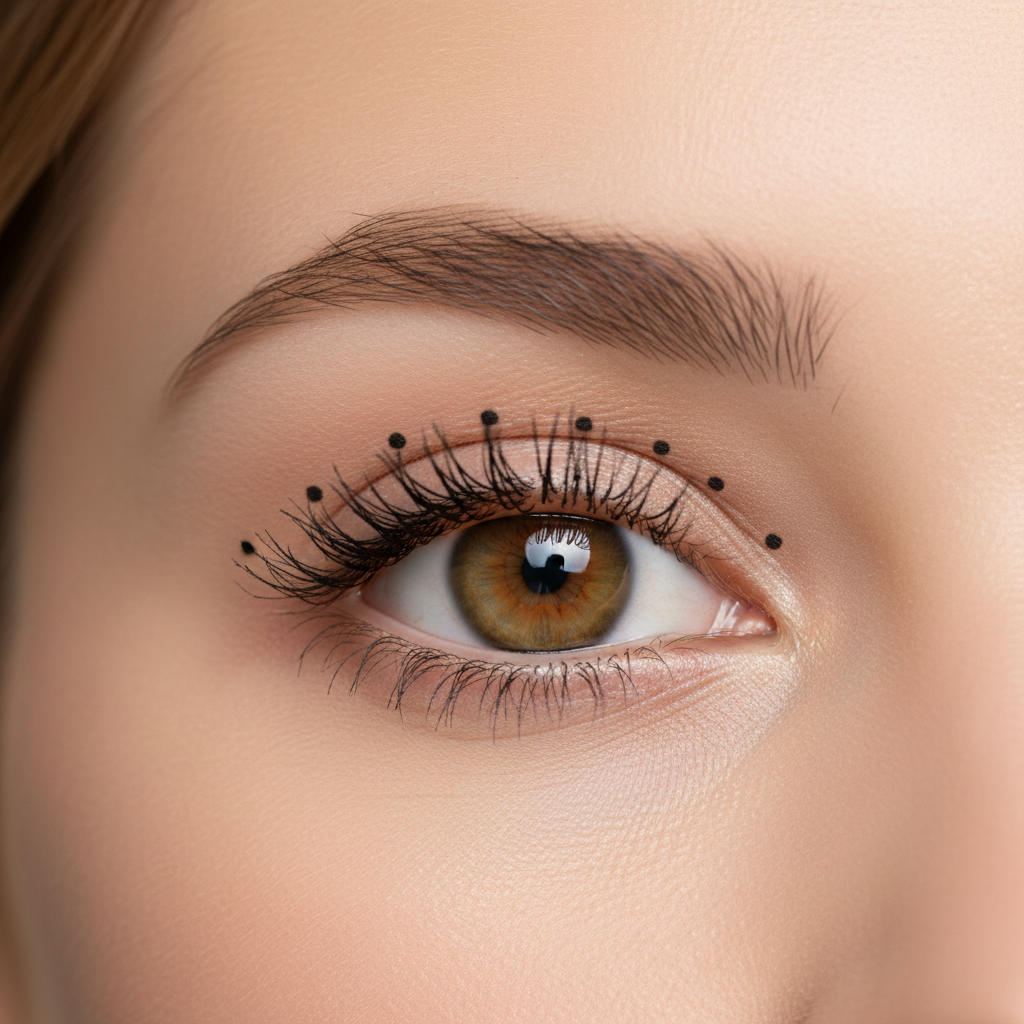
Step 2: Map three dots with your eye relaxed
- Dot A: at the outer corner where you want the wing to end.
- Dot B: where the wing should meet the lash line.
- Dot C: a small dot along the lash line, about one-third from the outer corner.
For most people, a flattering angle is close to the direction of the lower lash line, but don’t force it. If that line points down on your face, adjust slightly upward so the wing “lifts.”
Step 3: Connect, then fill
- Draw a thin line from A to B.
- Draw a line from B to C, staying close to lashes.
- Fill the tiny triangle, then tightline gaps between lashes with small taps.
Key point: stop when it looks good from a normal mirror distance. Magnifying mirrors create “over-correction,” and wings get thick fast.
Two alternate methods when the usual wing keeps failing
If you try the dot method and still hate the result, it’s often an eye-shape mismatch or a product mismatch. These two options cover a lot of real-life cases.
The “open-eye” wing (especially for hooded lids)
- Look straight into the mirror with eyes open and relaxed.
- Mark the wing tip where you can actually see space above the lash line.
- Draw the wing line back toward the lash line while keeping your eye open, then close to connect and fill.
This looks odd mid-process, but it prevents the wing from folding into your crease.
The “shadow wing” (soft, forgiving, great for beginners)
- Use an angled brush and a dark brown or soft black eyeshadow.
- Stamp a short flick at the outer corner, then smudge inward along lashes.
- Layer a thin liquid line on top only if you want sharper definition.
If you’re trying to learn how to do winged eyeliner easy without stress, a shadow wing builds muscle memory with fewer hard edges.
Real fixes for common wing mistakes (without restarting)
You don’t need to wipe everything off. Most wing problems can be corrected with small, clean adjustments.
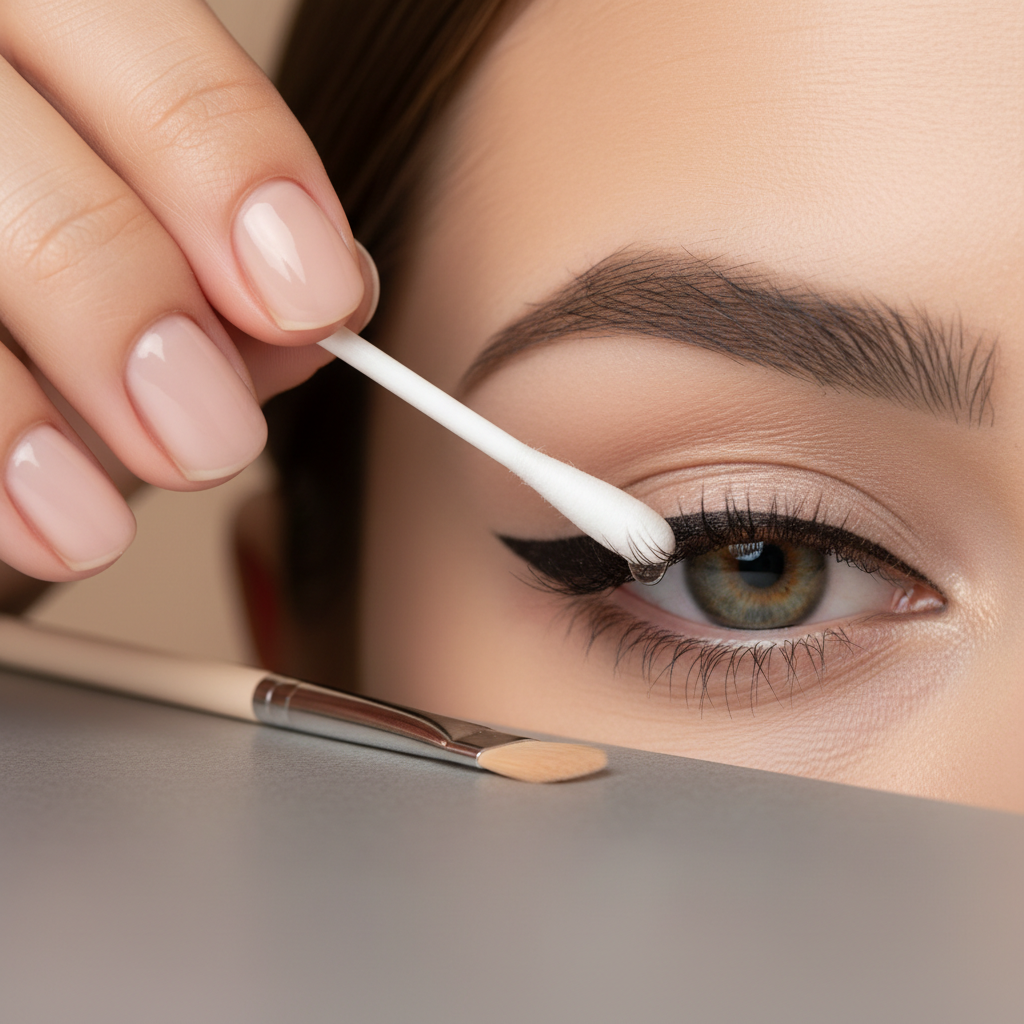
Problem: uneven wings
- Match the angle first, then match length.
- Adjust by shortening the longer wing with a cotton swab and micellar water.
- If you keep thickening the thinner side, both wings can end up heavy.
Problem: jagged line or skipping
- Switch to short strokes, tap-tap motions along lashes.
- Remove excess skincare from the lid and set with powder.
- If the pen tip is dry, a gel liner often feels smoother.
Problem: smudging or transfer to upper lid
- Try a thinner line and keep the wing more “out” than “up.”
- Set the liner edge with matching eyeshadow using a small brush.
- If your eyes are watery, consider a formula labeled long-wear or waterproof.
Problem: wing looks too dramatic
- Reduce wing length by 1–2 mm, it changes the whole vibe.
- Use brown liner for daytime, it reads softer without losing shape.
Beginner practice plan: 5 minutes, not a full face
Most people practice winged liner only when they’re rushing, which is a setup for frustration. Keep practice tiny and specific.
- Day 1–2: practice drawing just the wing flick, no full lash line.
- Day 3–4: add the outer third of the lash line and connect to the flick.
- Day 5: do both eyes, then stop once they look balanced from arm’s length.
If you want a simple rule, aim for “sisters, not twins.” Faces aren’t perfectly symmetrical, so perfect matching often leads to overdoing it.
Safety, hygiene, and when to get help
Eye makeup sits close to a sensitive area, so be conservative if anything feels off. According to the U.S. Food & Drug Administration, sharing eye cosmetics and using products past their useful life can increase contamination risk.
- Replace liners if the smell, texture, or performance changes, even if you “just bought it.”
- Avoid lining the waterline if it triggers irritation, many people do fine, but some don’t.
- If you wear contact lenses, insert lenses before makeup and remove lenses before taking makeup off.
If you notice persistent redness, pain, swelling, or blurred vision, it’s safer to stop using eye makeup and consider asking an eye care professional, especially if symptoms keep returning.
Key takeaways (save this)
- Make the lid smooth: blot, light base, light powder.
- Map before you draw: dots prevent overcorrection.
- Choose the right wing: open-eye mapping helps hooded lids.
- Fix small, not big: shorten the longer wing instead of thickening both.
- Practice in micro-steps: flick only, then outer third, then full look.
Conclusion: your easiest wing is the one you can repeat
If you keep chasing a perfect, sharp wing every time, winged liner stays stressful. Pick one method that suits your eye shape, keep the wing small, and repeat it until it feels boring, that’s usually when it starts looking really good.
Try the dot-and-connect approach next time you get ready, then do one small change only, like a shorter wing or a softer color. If you want, take a quick photo in normal light, it’s a more honest mirror than the 10x magnifier.
FAQ
- How do I do winged eyeliner easy if my eyes are hooded?
Use the open-eye mapping method so the wing sits where you can see it when your eyes are open, and keep the line thin near the crease area. - What’s the easiest eyeliner type for beginners, pen or gel?
Many beginners find a felt-tip pen easier for a crisp outline, but gel with an angled brush can feel steadier if your hands shake or the pen skips. - How can I make my wings match without making them thicker?
Match the angle first, then shorten the longer wing with a cotton swab, it usually looks cleaner than building up the smaller side. - Why does my eyeliner crack or flake at the outer corner?
It’s often a mix of dryness and product buildup. Try a thinner layer, let it dry fully, and avoid heavy concealer under the wing area. - Can I use tape for winged eyeliner?
Yes, many people use tape as a temporary edge guide. Press it lightly, remove slowly, and avoid tugging skin, especially if you’re sensitive. - How do I prevent eyeliner from smudging on oily lids?
Blot, add a thin base, set with powder, and consider a long-wear formula. Setting the edge with eyeshadow can also reduce transfer. - Is it okay to tightline if my eyes get irritated easily?
Some people tolerate tightlining fine, others don’t. If you get frequent irritation, keep product at the lash roots only and consider asking an eye care professional for guidance.
If you’re practicing and still feel stuck, you might do better with a softer “shadow wing” routine for a week, then layer a thin pen line on top once your angle feels consistent, it’s a more forgiving way to build confidence without restarting your makeup every morning.